

So I decided to make my own. It’s pretty straight forward to make but does require some time, mostly for the cutting up of the individual wrappers. But man, oh man, was I able to make really nicely thin wrappers which is a must for the really good little dim sum dumpling - no one wants a mouthful of wrapper rather than a mouthful of yummilicious savory filling!

The dough for the sui mai wrappers is simplicity in itself, merely consisting of flour, water, salt and egg. Make a well in the middle of the flour, then add in water, egg yolk and salt and mix them up first before incorporating the flour.
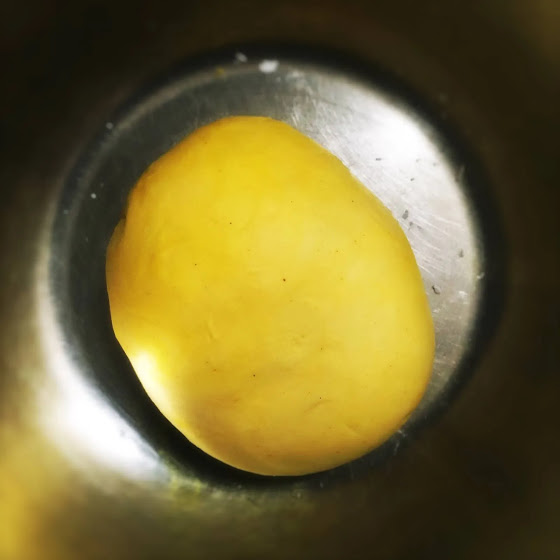
Let me amend that last statement just a bit. The iconic sui mai dough is a bright yellow. To make this color I first tried adding turmeric. That totally did not work. Unless you wanted to add a serious ton of turmeric which would affect the taste of the wrapper.
I ended up using food coloring gel which worked really well as you can see, creating a bright cheerfully yellow colored dough. The only thing is that one should really add the food coloring in at the beginning stage rather than later. I added it later which caused extra effort to get the coloring to evenly incorporate into the dough. So add in with the water.

Once dough is formed cover and let it rest to relax the gluten. If you don’t you’ll find that the dough is hard to stretch out. Take your relaxed dough and stretch out to a size that is slightly less than the length of your pasta machine roller (the dough will spread slightly as it passes through the roller.)

Now it’s time to bust out the pasta machine! Yay, I love my little machine. It’s amazing how much this little gadget can get done. Set the rollers at the thickest level and roll your dough through. Set at next thinner level and roll again. Repeat until the desired level of thinness is achieved.
As I have said already, it’s desirable to have a certain amount of thinness to achieve a delicacy of balance in the sui mai. In this case I rolled to the number 2 level of my pasta machine roller’s settings.

Before rolling add a generous amount of starch to both sides of the dough. This will prevent the dough from sticking to itself. As you roll add more as needed.

When the dough is rolled to desired thickness it’s time to cut into wrapper size. The optimal size for siu mai wrappers is 3inches (8cm) square. I discovered, however, that my machine only had a max width of 5 1/2 inches. So I had to adjust accordingly.
This is the part that took me the most time. Measuring and cutting out the individual squares. I used a ruler and knife to measure and cut. But you could just eye it like my grams used to do. Add more starch as needed to make sure the wrappers don’t stick to each other.
That’s it, folks. A bit of time, yes, but ultimately a gorgeous pile of handmade, very thin and delicate wrappers ready to wrap those homemade sui mai dim sums. Satisfying and fun!
Check out our recipe for traditional style homemade sui mai dumplings!
Sui Mai Wrapper Recipe
(makes approx. 70 wrappers)
Ingredients:
- pasta machine
- 2 cups + 6 1/2 tbsp all purpose flour, 300g
- 1/2 cup water, 130g
- 1/4 tsp salt
- 1 egg yolk
- yellow gel food coloring
- 4 tbsp corn starch (or potato starch)
Directions:
Add flour to mixing bowl, making a well in the middle. Add water, salt, egg yolk and food coloring to the well. Mix the wet ingredients together. Slowly incorporate the flour into the wet ingredients.
Once thoroughly mixed start kneading. Knead until dough comes together. Cover and let rest for 10 minutes. Knead again until dough in smooth and pliable.
Cover and let rest for 20 minutes.
Use hands or rolling pin to stretch dough out to a flat rectangular. The width should be a bit less than the width of your pasta machine roller. Generously dust both side of dough with corn starch. Set machine to thickest rolling option and roll the dough through. Change rolling level to the next thinnest level and roll dough through again. Repeat until desired thickness reached. (We went to level 2 on our machine)
Use a ruler to measure rolled out dough to approx. 3 inches (8 cm) square. Use knife to cut out the squares. Make sure the each wrapper is coated with corn starch. Stack up the wrappers.
The wrappers are now ready for use. If not using right away you can slide them into a zi-lock and store in the fridge until ready to use. For longer storage these wrappers can be frozen. Enjoy your homemade doughiness!
Doughlicious at The Hong Kong Cookery:
Google


those are beautiful! I've found the width restriction with a pasta roller to be difficult to deal with before. I've had a bit of success with using the pasta machine to get them down to level 3, then I roll pieces of that dough out a bit wider to get 6" in width, THEN I can cut them evenly. in the end, I decided to just do it all by hand, but the ones I put through the pasta roller and then rolled out a bit wider were probably the most even, which is so important for wrappers. thank you for your recipe and tips!!!
ReplyDeleteHey Diane! You're so smart, why didn't I think of that, a most excellent way to get around the restrictions of the roller length! I might try rolling completely by hand next time, tho I find I always end up rolling unevenly 🙁. Got any tips how to hand roll better? ~ellen
ReplyDelete